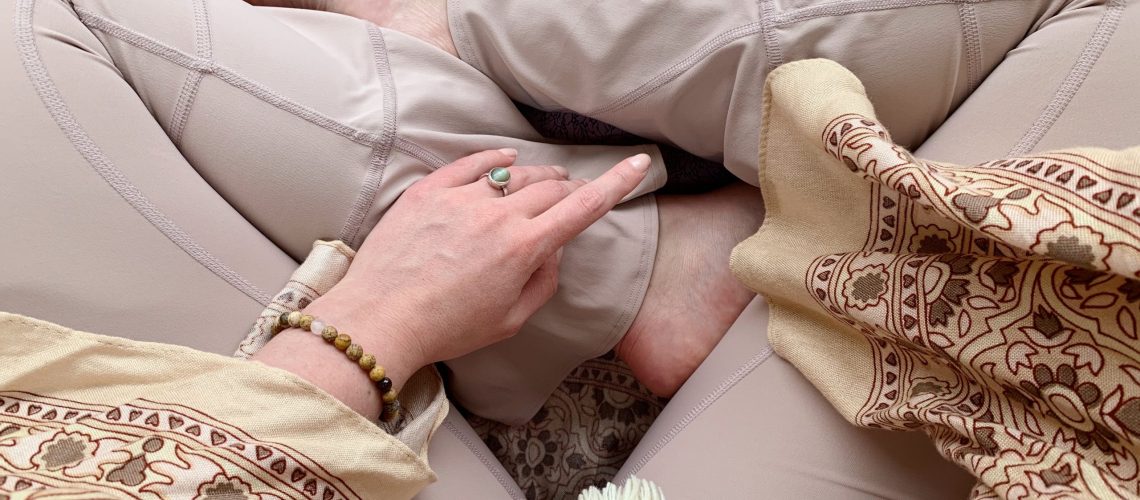
“Create happy toes!,” our guru, Vishva Ji announced as he walked around the room while conducting our Yoga practice. So, we did as he suggested, flexing our feet while spreading the toes nice and wide apart while focusing on the breath. Both legs instantly engaged, body completely in control and stronger in each pose.
This moment of discovering Happy Toes was revolutionary and became a recurring queue in our classes – it’s one we swear by.
The thing about Happy Toes is it gives you that extra bit of concentration. Not only is this engagement a great way to help with balancing postures, but also allows you to get more out of your asanas while giving a little TLC to your feet. One must also note that the breath must be strong and rich to prevent cramping.
Here are a few steps to get connected with your toes before a practice:
This little exercise is a great way to make that connection with your toes and feet. You can play around with big toes and little toes, or focus on all ten – whichever is more comfortable. The style of Happy Toes you use can also differ between poses. Perhaps more engagement will be needed in a balancing asana as opposed to an easy seated posture.
The next time you play on your mat, give Happy Toes a try, and enjoy this new discovery!
